Monday, 20 February 2012


The code below connects the servo to a specific pin on the arduino board. In this case pin 9.
instruction is given to the servo via the write section of the code.
The position of the torque goes from 0 to 160 degrees.
it will take 1000ms to reach position in variable pos.

#include <Servo.h> 

Servo myservo;


const int pingPin = 7;
int pos = 160;
boolean extended = false;
int timer = 0;


int mySpeed = 200;

void setup() {
  // initialize serial communication:
  Serial.begin(9600);
  myservo.attach(9); 
  myservo.write(pos);
  delay(1000);
}

void loop(){
  timer = timer + 1;
  if (timer > 10000 && extended == false){
    while(pos > 1){
       myservo.write(pos);
       delay (mySpeed);
       pos --;
       int  duration = analogRead(0);
        if (duration > 300){
            pos = 160;
             myservo.write(pos);
            timer = 0; 
            extended = false; 
            break ; 
        }
    }
    extended = true;
    timer = 0;
  }


  int  duration = analogRead(0);
  if (duration > 300){
    pos = 160;
     myservo.write(pos);
      timer = 0; extended = false;     
  }


}


Sunday, 19 February 2012

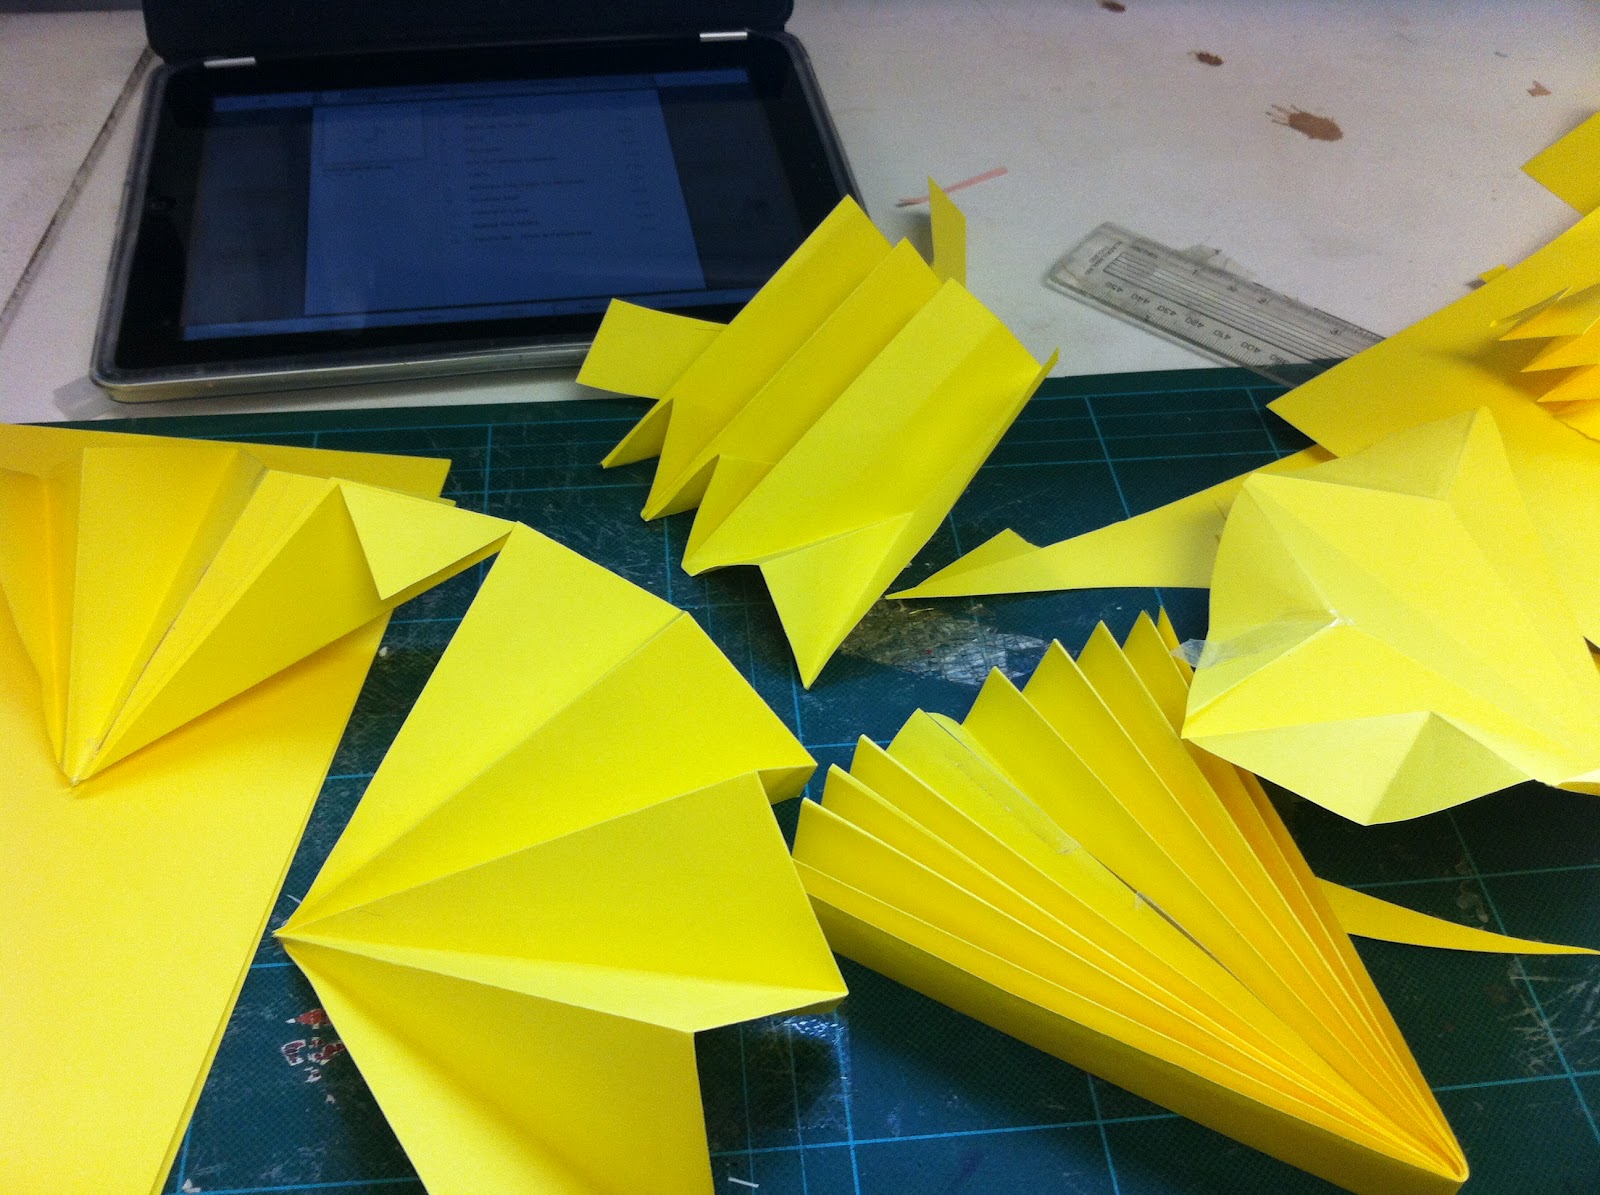
The construction on the back of the flower is turning out to be just that 
a bit construction job.
Thankfully the trip to the Fan museum has paid off 
(thanks for the direction Pete).
The effect this side of the final object gives is the complete opposite to the flowery abstract form you see once the flower opens up. 
It is the technical side of the abstract form.

RESPONSIVE 
NUMERICAL 
DATA 
REVEALS 
REACTIVE 
ENVIRONMENTAL 
CHANGE


Heres some of the folding and tweaking I did before I went to the fan museum.


.

Friday, 17 February 2012

Finally made it to the fan museum. I am in search of inspiration on how to disguise the mechanism at the back of the flower. 
A bit more paper folding and cutting and I'm done.

http://www.thefanmuseum.org.uk

Theres even instructions on how to make a basic fan.


Thursday, 16 February 2012


Heres the dummy fleurrr. 
It is attached to the server motor with a bit of tape for now.

As the arm of the servo rotates left, the flower will open and then close as the lever arm moves through approximately 180 degrees.

Now I need the flower to respond to a change in its environment. That is I want it to close up, retract, shy away from the world in a protective manner. Then when safe, open up once more.
mmmm.

Pete has suggested I use an ultrasonic motion detector...sounds very sci-fi, but to me looks like  a miniature ghetto blaster.
the ultra sonic motion detector
On the left, is the servo motor, on the right is the motion sector, arduino (below) and bread board on the right.
There are three wires coming from the servo, red, yellow and black. 
Red is + charge, the black is -  and I think the yellow is the data wire that controls the servo.


Wiring and basic coding done, you will have to take it from me that the ultra sonic motion detector was a bit of a beast, it turned mon fleur into a bit of a venus flytrap..ie too powerful for the job in hand, so Pete found something with a bit less wellie, and I have to say it now works beautifully.

less wellie

Thank God I wore Primani not Armani today!


After a few false starts, (three to be precise) I finally completed the box that is going to operate the flower. My school of errors included cutting the wrong size board, drilling in the wrong place with the pillar drill, and my inability to cut a straight enough line with the Scroll saw. (On that one I have to say thug the machine I was using was much faster than the one the guy to my left was using...he was cruising along as apposed to my dirt bike rider of a saw), but I got there in the end though. Even made a handy brace to hold the servo motor in place.
A good couple of days. Now for the programming.

Thursday, 9 February 2012

Modifying the design

Now I have to modify the design. 
The type of material used makes a big difference.

Silver card.
Silver foil.

This is pretty but too floppy.

Paper ?

Combination of foil and metallic card.


This is the working model. I can use this one to set up the arduino.